Hi there, and welcome!
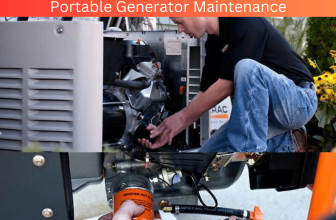
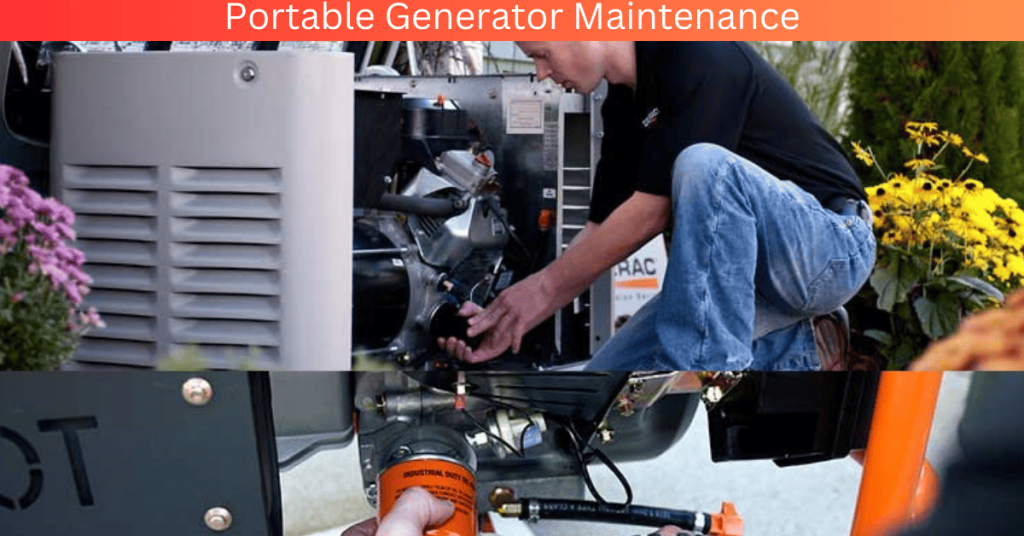
If you have a portable generator, you know that it’s a great tool to have when the power goes out. But like any machine, it needs regular maintenance for optimal performance.
That’s why I’m here to give you some essential steps to make sure your generator is ready for when the lights go out. When you take care of your generator, you can be confident that it will provide reliable service when you need it most.
So let’s get started by learning how to properly maintain your generator!
Checking The Fuel And Oil Levels
I’m always careful to check the fuel and oil levels in my portable generator before I put it to use. It’s important to make sure it has enough fuel and oil so that it will run properly and won’t be damaged.
First, I remove the dipstick from the engine block – this is where I can check the oil level. If the level is low, I add more until it reaches the full line on the dipstick. Then, I check for any leaks around the engine block and tighten any loose connections or hoses if necessary.
Next, I move on to checking the fuel level. If the tank is empty, I refill it with clean gasoline that’s specifically designed for small engines. It’s also a good idea to add a fuel stabilizer during refueling to help prevent gum deposits from forming in your generator over time. Once my tank is filled up, I wipe down any spills with a rag and dispose of them safely away from my house.
Finally, double-check all of your connections and make sure nothing else needs replacing or repairing before you start up your generator. This quick maintenance process takes just a few minutes but can save you much more in costly repairs down the road!
Now let’s move on to cleaning the air filter for even better results.
Cleaning The Air Filter
Now that you’ve checked the fuel and oil levels, it’s time to move onto cleaning the air filter. It’s important to keep your air filter clean to ensure airflow is not impeded by dirt and debris. This will help keep your generator running efficiently, so it’s worth taking a few minutes each month to do this step.
Cleaning the air filter is simple, but requires some preparation.
Before getting started, make sure you have some rags and a small brush on hand. You’ll also need a flathead screwdriver or other tool to remove the air filter housing cover.
Once you have all your supplies ready, you can begin cleaning.
Start by removing the air filter housing cover with your tool of choice.
Gently pull out the old air filter and discard it – don’t try to clean it; just buy a new one!
Then, use your brush and rags to clean off any dust or debris from inside the housing cover before replacing the new air filter. Make sure the edges of the new filter are lined up correctly in the housing before securing everything back into place with your tool of choice.
Now that you’ve finished cleaning your air filter, move onto replacing spark plugs for optimal performance from your portable generator.
Replacing The Spark Plugs
Replacing the spark plugs is an important part of maintaining your generator. It’s not a complex task, but it does require some special tools and a bit of know-how. Let’s get started!
| Pros | Cons | |
|---|---|---|
| Cost | Relatively inexpensive | Extra tools may be necessary |
| Time | Quick and easy to do | Requires multiple steps |
| Risk | Low risk of damage or injury | Safety glasses are recommended |
To replace the spark plugs, you’ll need a ratchet, extension, and socket set. You should also wear safety glasses to protect your eyes from any flying debris. Once you’ve got everything ready, start by locating the spark plug wires. They should be located near the engine block. Carefully unscrew each one, making sure to keep track of where they go in case you have trouble reassembling them later. Then, remove each spark plug with a socket wrench and discard them in the trash. Finally, install new spark plugs into each hole and hand-tighten them for now — we’ll tighten them up with the ratchet later on.
Now that you have all your new spark plugs installed, it’s time to inspect the belts and hoses for any signs of wear or damage.
Inspecting The Belts And Hoses
It’s important to inspect the belts and hoses of your portable generator regularly, as these are essential for its proper functioning. I check these components every time I use my generator, to make sure they haven’t been damaged in any way.
This includes inspecting the fan belt, alternator belt, and the oil dipstick tube hose. If I find any cracks or tears in the belt or hoses, I replace them immediately. It’s also important to make sure that all connections are tight and secure, so that there is no leakage from any of them.
Additionally, it’s crucial to check for signs of wear and tear on the outer surface of the belts and hoses. If you can’t identify any problems with them, you should go ahead and lubricate them before returning your generator to service.
After checking the belts and hoses, it’s time to move on to adjusting the carburetor. This is a critical process that helps ensure that your generator runs smoothly and efficiently when you need it most.
Adjusting The Carburetor
Taking care of your portable generator is something that’s essential to make sure it runs smoothly. I’m now going to take you through the steps for adjusting the carburetor.
One of the first things to do when adjusting the carburetor is to check and adjust the idle speed, which can be done by following this table:
| Step | Action | Result |
|---|---|---|
| 1 | Unplug spark plug wire from spark plug. | Disconnects engine power source. |
| 2 | Turn idle speed screw clockwise with a flathead screwdriver until it stops. | Increases idle speed. |
| 3 | Turn counterclockwise 1/8th turn at a time until engine revs up and down smoothly while in neutral. | Adjusts idle speed so engine runs smooth . |
Once everything is adjusted correctly, you’ll need to reconnect the spark plug wire and check for carbon buildup on the spark plug electrodes, which can also be cleaned with a wire brush or replaced if necessary.
Now you’re ready to move on and make sure your battery is working correctly. To do that, let’s take a look at how we can test the battery…
Testing The Battery
Let’s get to testing the battery! It’s not a complex process, but it is important. After all, if your battery isn’t up to snuff, then you won’t be able to start your generator when you need it.
First things first: make sure that the battery is securely connected and then check its charge. To check the charge level of the battery, you’ll need a voltmeter. If there isn’t enough charge in the battery, try charging it with a trickle charger before doing any additional testing.
Next up is testing the alternator. This will tell you if the alternator and other electrical components are functioning correctly and properly charging your battery. To do this, use the same voltmeter as before and connect it to each of the terminals on your starter motor while making sure that all connections are secure. Then start your generator and check for readings of around 12-14 volts; anything lower than that could indicate an issue with either your alternator or other electrical components.
Now that we’ve tested both our battery and alternator, it’s time to move onto examining our electrical connections. We want to make sure everything is securely connected in order for our generator to work properly – let’s take a look!
Examining The Electrical Connections
Once you’ve verified your generator’s battery is in good health, it’s time to take a thorough look at the electrical connections. This is an important step and should not be skipped.
I recommend disconnecting the battery before beginning this examination.
Start by checking all the wires for any signs of damage or corrosion. If you find any corroded spots, use a wire brush or sandpaper to remove them until the surface is clean and shiny. Make sure none of the wires are cracked or frayed and replace them if they are.
Next, check all of the connections for tightness and make sure nothing has come loose over time. Tighten any loose connections with pliers or a wrench and inspect each wire to make sure they are connected securely to their respective terminals.
Once everything looks good, reconnect the battery and move on to cleaning the exhaust system.
Cleaning The Exhaust System
Cleaning the exhaust system of your portable generator is a critical step in ensuring optimum performance.
I recommend starting by shutting off your generator and allowing it to cool down completely.
You’ll then need to remove the spark arrestor, which will give you access to the muffler and exhaust system.
Carefully inspect these components for any signs of blockage or buildup of dirt, leaves, or other debris.
If you notice any such build-up, use a wire brush to clean it away.
Next, you’ll need to check for any corrosion or damage on the exhaust system components.
If you find any corroded areas that can’t be cleaned off with a wire brush, you may need to replace them with new parts from your local hardware store.
Make sure all components are securely fastened before firing up your generator again.
Your generator will work more efficiently if the exhaust system is kept clean and free from obstructions or damage.
Taking care of this maintenance now will extend the life of your generator and prevent costly repairs in the future!
Now that we’ve covered cleaning the exhaust system, let’s move on to lubricating the moving parts.
Lubricating The Moving Parts
It is essential to keep your portable generator in top condition for optimal performance. Taking the necessary steps to lubricate the moving parts and performing regular preventive maintenance will ensure that your generator runs efficiently and safely.
To lubricate the moving parts, you need to gather some supplies. The list below outlines what you need:
| Supplies | Quantity |
|---|---|
| Oil SAE 30 (or 5W-30) | 1 quart |
| Oil Filter | 1 unit |
| Grease Gun Kit | 1 unit |
| Open-End Wrenches | 2 units |
Once you have all the necessary items, you are ready to begin. Start by removing the oil filter, drain plug, and engine cover. Then take out the old oil and replace it with new oil as per manufacturer’s recommendations. If there is an air filter, check if needs replacing or cleaning.
Now use a grease gun to apply grease to all of the moving parts like pistons, connecting rods, flywheel hub, crankshaft bearings and other components as needed. Make sure each part is well lubricated before reassembling the engine cover and drain plug.
Performing regular preventive maintenance on your portable generator will help extend its life while keeping it running smoothly and safely. Check for general wear and tear on a regular basis; tighten any loose bolts or nuts; test run the generator periodically; replace spark plugs as recommended; check fuel lines for cracks or leaks; clean debris from cooling fins; inspect battery terminals for corrosion; change oil regularly according to manufacturer’s instructions; make sure wiring is secure and undamaged; monitor exhaust system for blockages or obstructions; use only fresh fuel when refilling tank.
Taking these precautions will help prevent unexpected breakdowns due to neglected maintenance tasks over time. A well maintained portable generator should provide years of reliable service when used properly. Transitioning into the subsequent section about ‘performing regular preventive maintenance’ without writing ‘step’.
Performing Regular Preventive Maintenance
I’m sure you’ve heard the saying, ‘A stitch in time saves nine.’ This is especially true when it comes to maintaining your portable generator. Taking a little extra time to perform regular preventive maintenance can save you from having to do more extensive repairs down the road.
So let’s get started!
The first step is to check for any signs of wear and tear on your generator. Look for areas that may have become damaged, such as broken wires or corroded parts. If any of these exist, replace them immediately. This will help ensure that your generator continues running efficiently and safely.
The next step is to clean your generator regularly. Make sure all surfaces are free of debris and dirt, including the fan blades, air intake ports, and fuel tank cap. Doing so will help prevent overheating and reduce potential damage caused by clogged vents or blocked filters.
Additionally, check the oil levels and make sure they are topped up if needed – this is essential for keeping your engine running smoothly and efficiently.
With these simple steps taken care of regularly, you’ll be well on your way to ensuring that your portable generator keeps running like clockwork!
Frequently Asked Questions
How Often Should I Perform Preventive Maintenance On My Portable Generator?
As a general rule of thumb, you should be doing preventive maintenance on your portable generator every 6-12 months – or more frequently if you’re using it a lot.
This can include:
- Changing the oil
- Cleaning and inspecting the air filter and spark plug
- Checking battery levels
- Testing the fuel tank for sediment build up
Doing regular maintenance will help ensure your generator is running smoothly and safely.
What Type Of Fuel Should I Use In My Portable Generator?
When it comes to keeping your portable generator running in tip-top shape, the type of fuel you use is just as important as regular maintenance.
You’ll want to make sure you only use fresh gasoline that’s formulated for small engines.
Avoid using fuel with more than 10% ethanol, since it can cause issues with your generator’s carburetor and other parts.
Similarly, don’t mix different types of fuel, since that can also lead to problems.
By using the right type of fuel and performing regular maintenance on your generator, you’ll be able to enjoy its power for years to come!
How Do I Know When To Replace The Air Filter?
If you want to keep your portable generator running smoothly, it’s important to check the air filter regularly.
Over time, debris and dirt can get caught in the filter, reducing its effectiveness and leading to a decrease in performance.
To prevent this from happening, inspect the air filter every few months and replace it if necessary.
You’ll know when it’s time for a replacement when you notice that the filter has become clogged or dirty—if that happens, get a new one asap!
How Do I Adjust The Carburetor?
Carburetors are essential for getting the most out of your portable generator, so it’s important to know how to adjust yours.
The process is fairly simple; all you have to do is use a screwdriver to turn the adjustment screws labeled ‘high’ and ‘low’ until you hear the engine running smoothly.
Be careful not to over-tighten the carburetor, as this could cause damage to your generator’s engine.
Once you’ve adjusted both screws, go for a test run and make sure everything is working properly.
How Do I Know When The Battery Needs To Be Replaced?
Are you wondering when to replace the battery on your portable generator?
It’s important to stay on top of battery maintenance, as a faulty battery can cause problems with your generator.
You’ll want to keep an eye out for signs like slow starts or inconsistent performance.
It’s also a good idea to test the battery regularly, using a multimeter or hydrometer.
If the reading is below 12 volts, it’s time for a new battery!
Conclusion
It’s important to keep up with regular maintenance for your portable generator in order to ensure it runs safely and efficiently.
Taking a few simple steps such as checking the fuel type, replacing the air filter, adhttp://This Honda EM5000 iAVR Series Portable Generator with Electric Start features iAVR technology to provide 7,000 Watts for up to 10 seconds to start high initial amp draw equipment. CO Minder provides essential protection from harmful carbon monoxide. Bluetooth connectivity lets you monitor the…justing the carburetor, and replacing the battery can help prevent potentially costly problems down the road.
As long as you follow these essential maintenance steps, you should be able to enjoy your generator for years to come.
I know that if I take care of my generator properly, I will have reliable power when I need it most.
Low-Maintenance Generators We Recommend (2026)
As an Amazon Associate we earn from qualifying purchases. Prices and availability are accurate as of the date/time indicated and are subject to change.

For more options, see our full guide: best quiet generators.